Upstairs Fire Pit
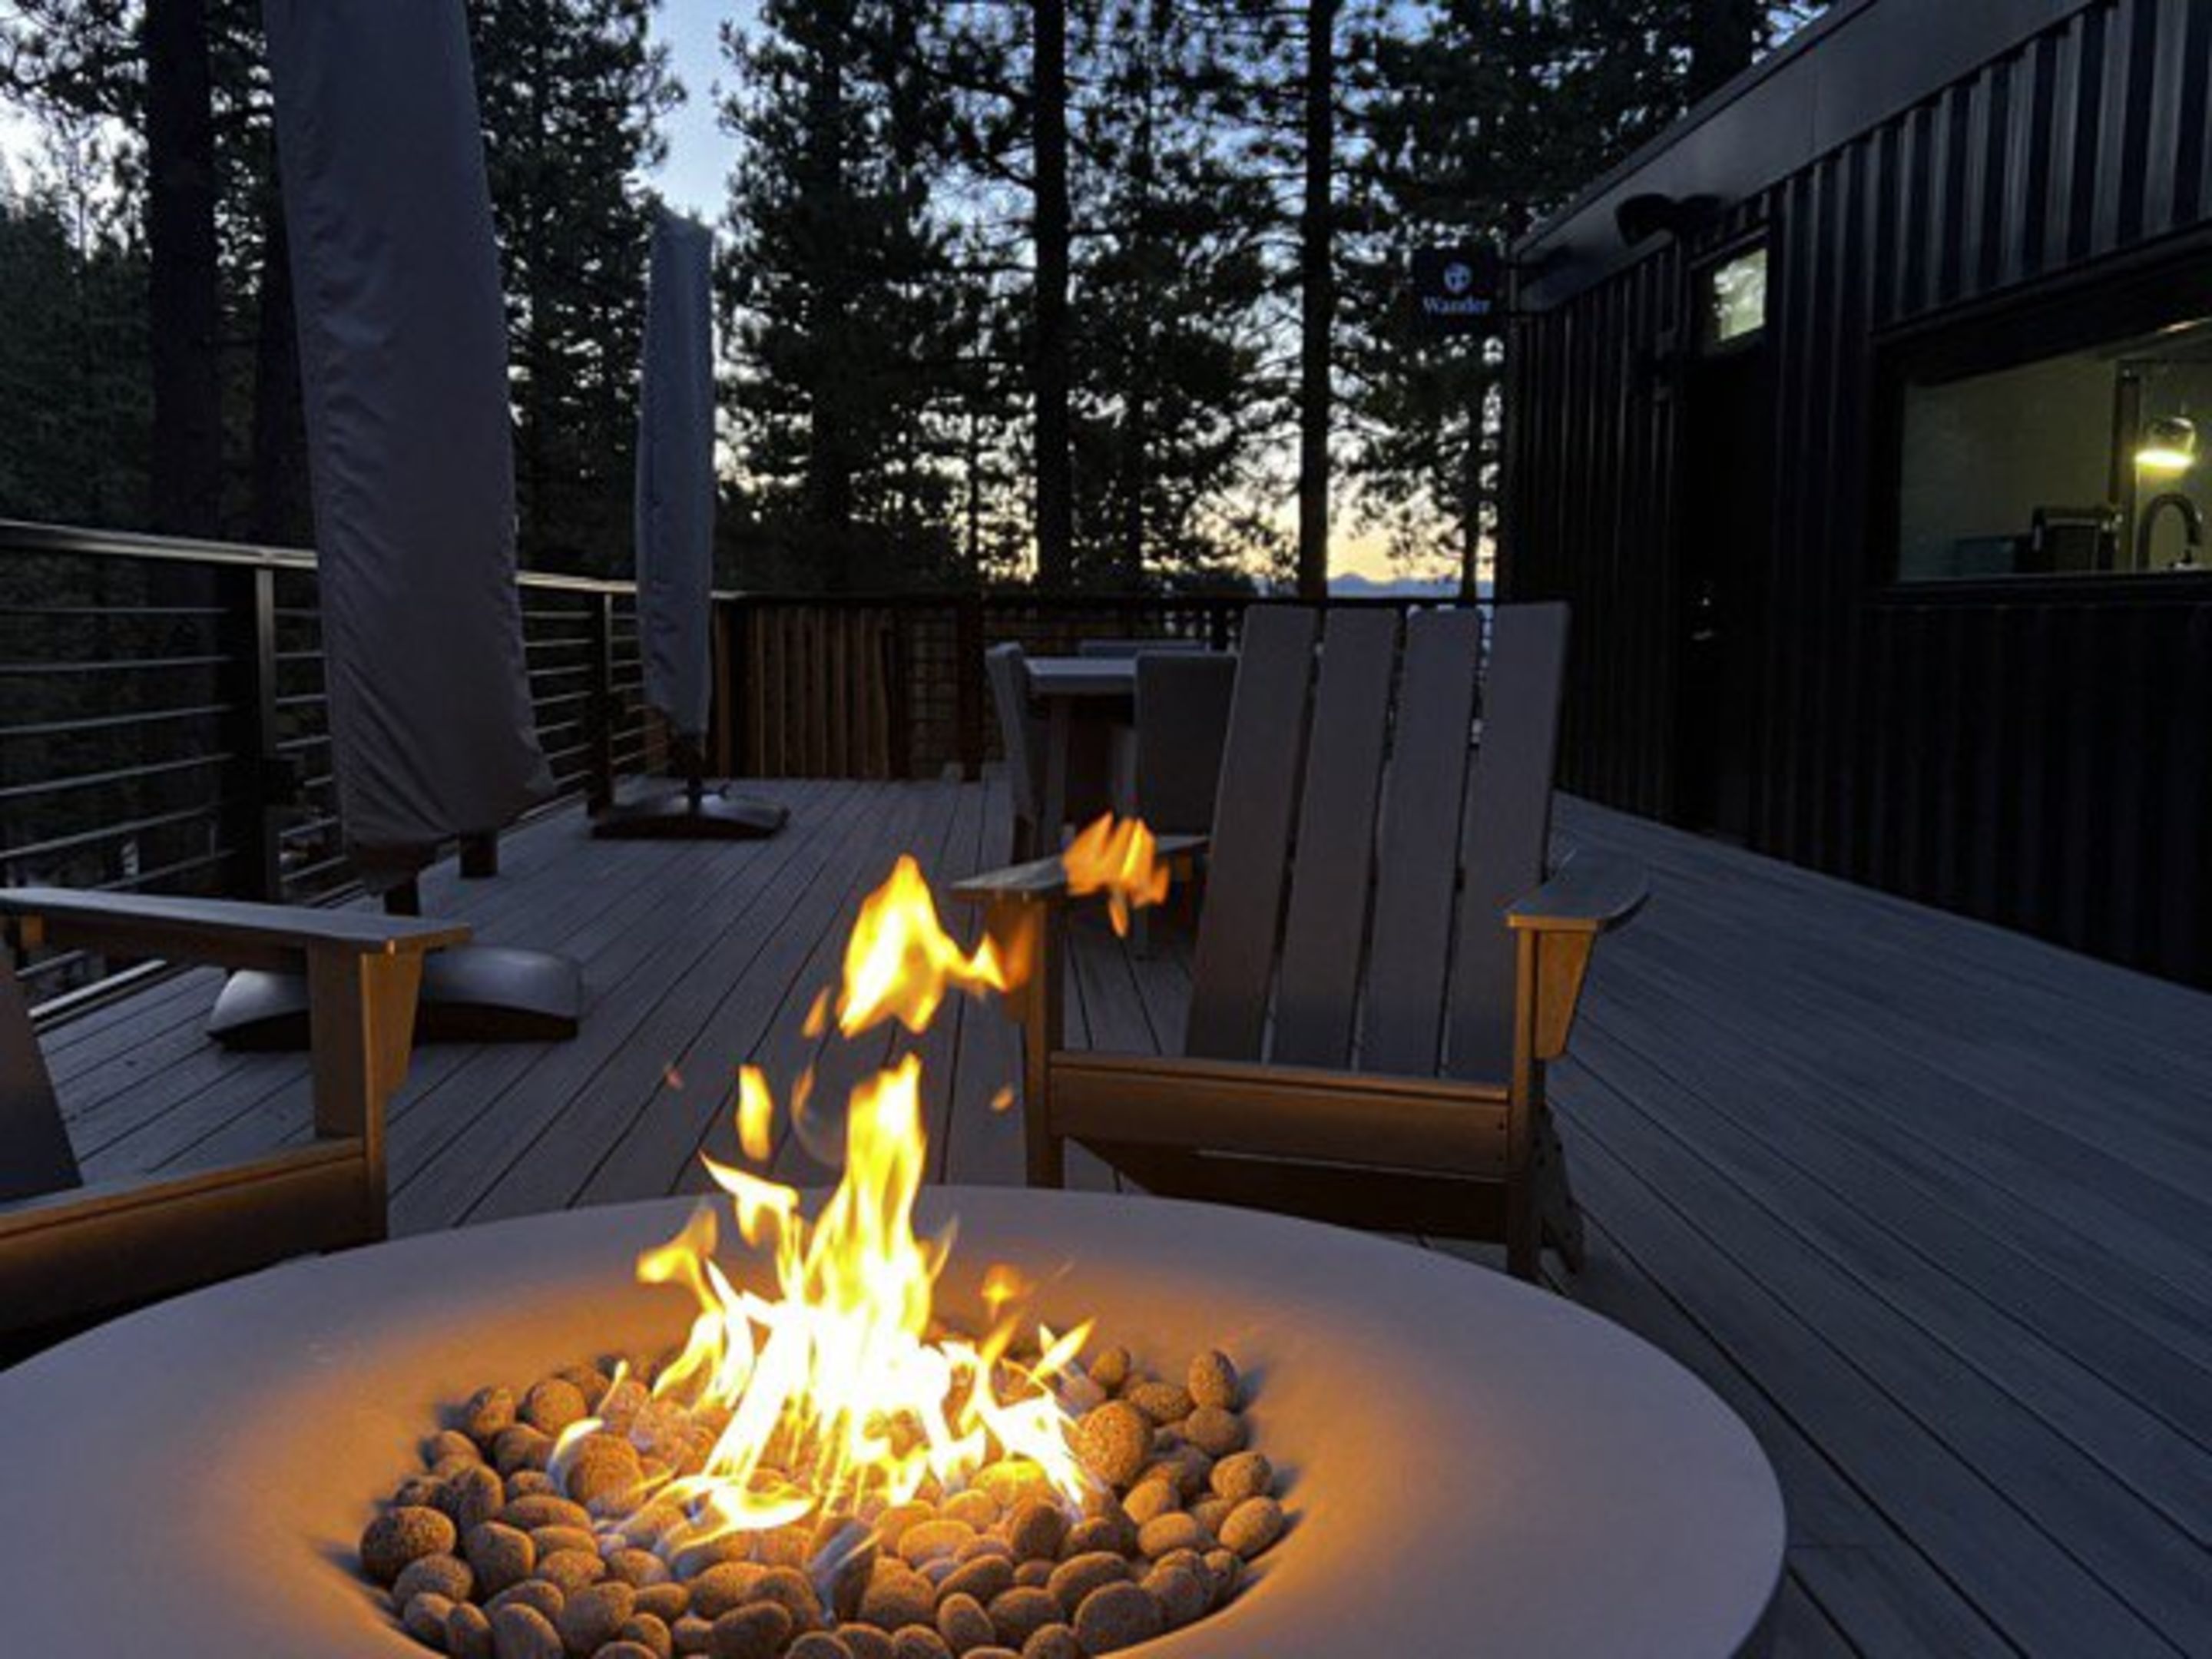
Brand: Lumacast
How to Turn On/Off:
The fire pit can be turned on using the iPad. To open it manually, (1) press the left-most switch on the panel right inside the black door in the kitchen or (2) you can press the switch in the gray box to the right of the grill,
How to Control Flame:
Locate the large silver key in the top left most drawer on the kitchen island. The key will say "blue flame" at the top. Insert the key on the backside of the fire pit facing the slopes. Turn the key right/left to adjust the height of the flame.
Downstairs Fire Pit
Brand: realflame
How to Start the Fire Pit:
Make sure the fire pit is connected to the propane tank and is supplying gas to the fire pit.
Slowly turn the silver dial on the bottom right of the fire pit while also pressing the black "light" button right below it.
While slowly turning the silver knob and holding the "light" button, turn the silver knob past the low flame and to the desired height.
How To Turn Off the Fire Pit:
Turn the silver knob all the way right into the off position.
Make sure the knob is in the correct off position so that the fire pit does not leak gas.
Hot Tub
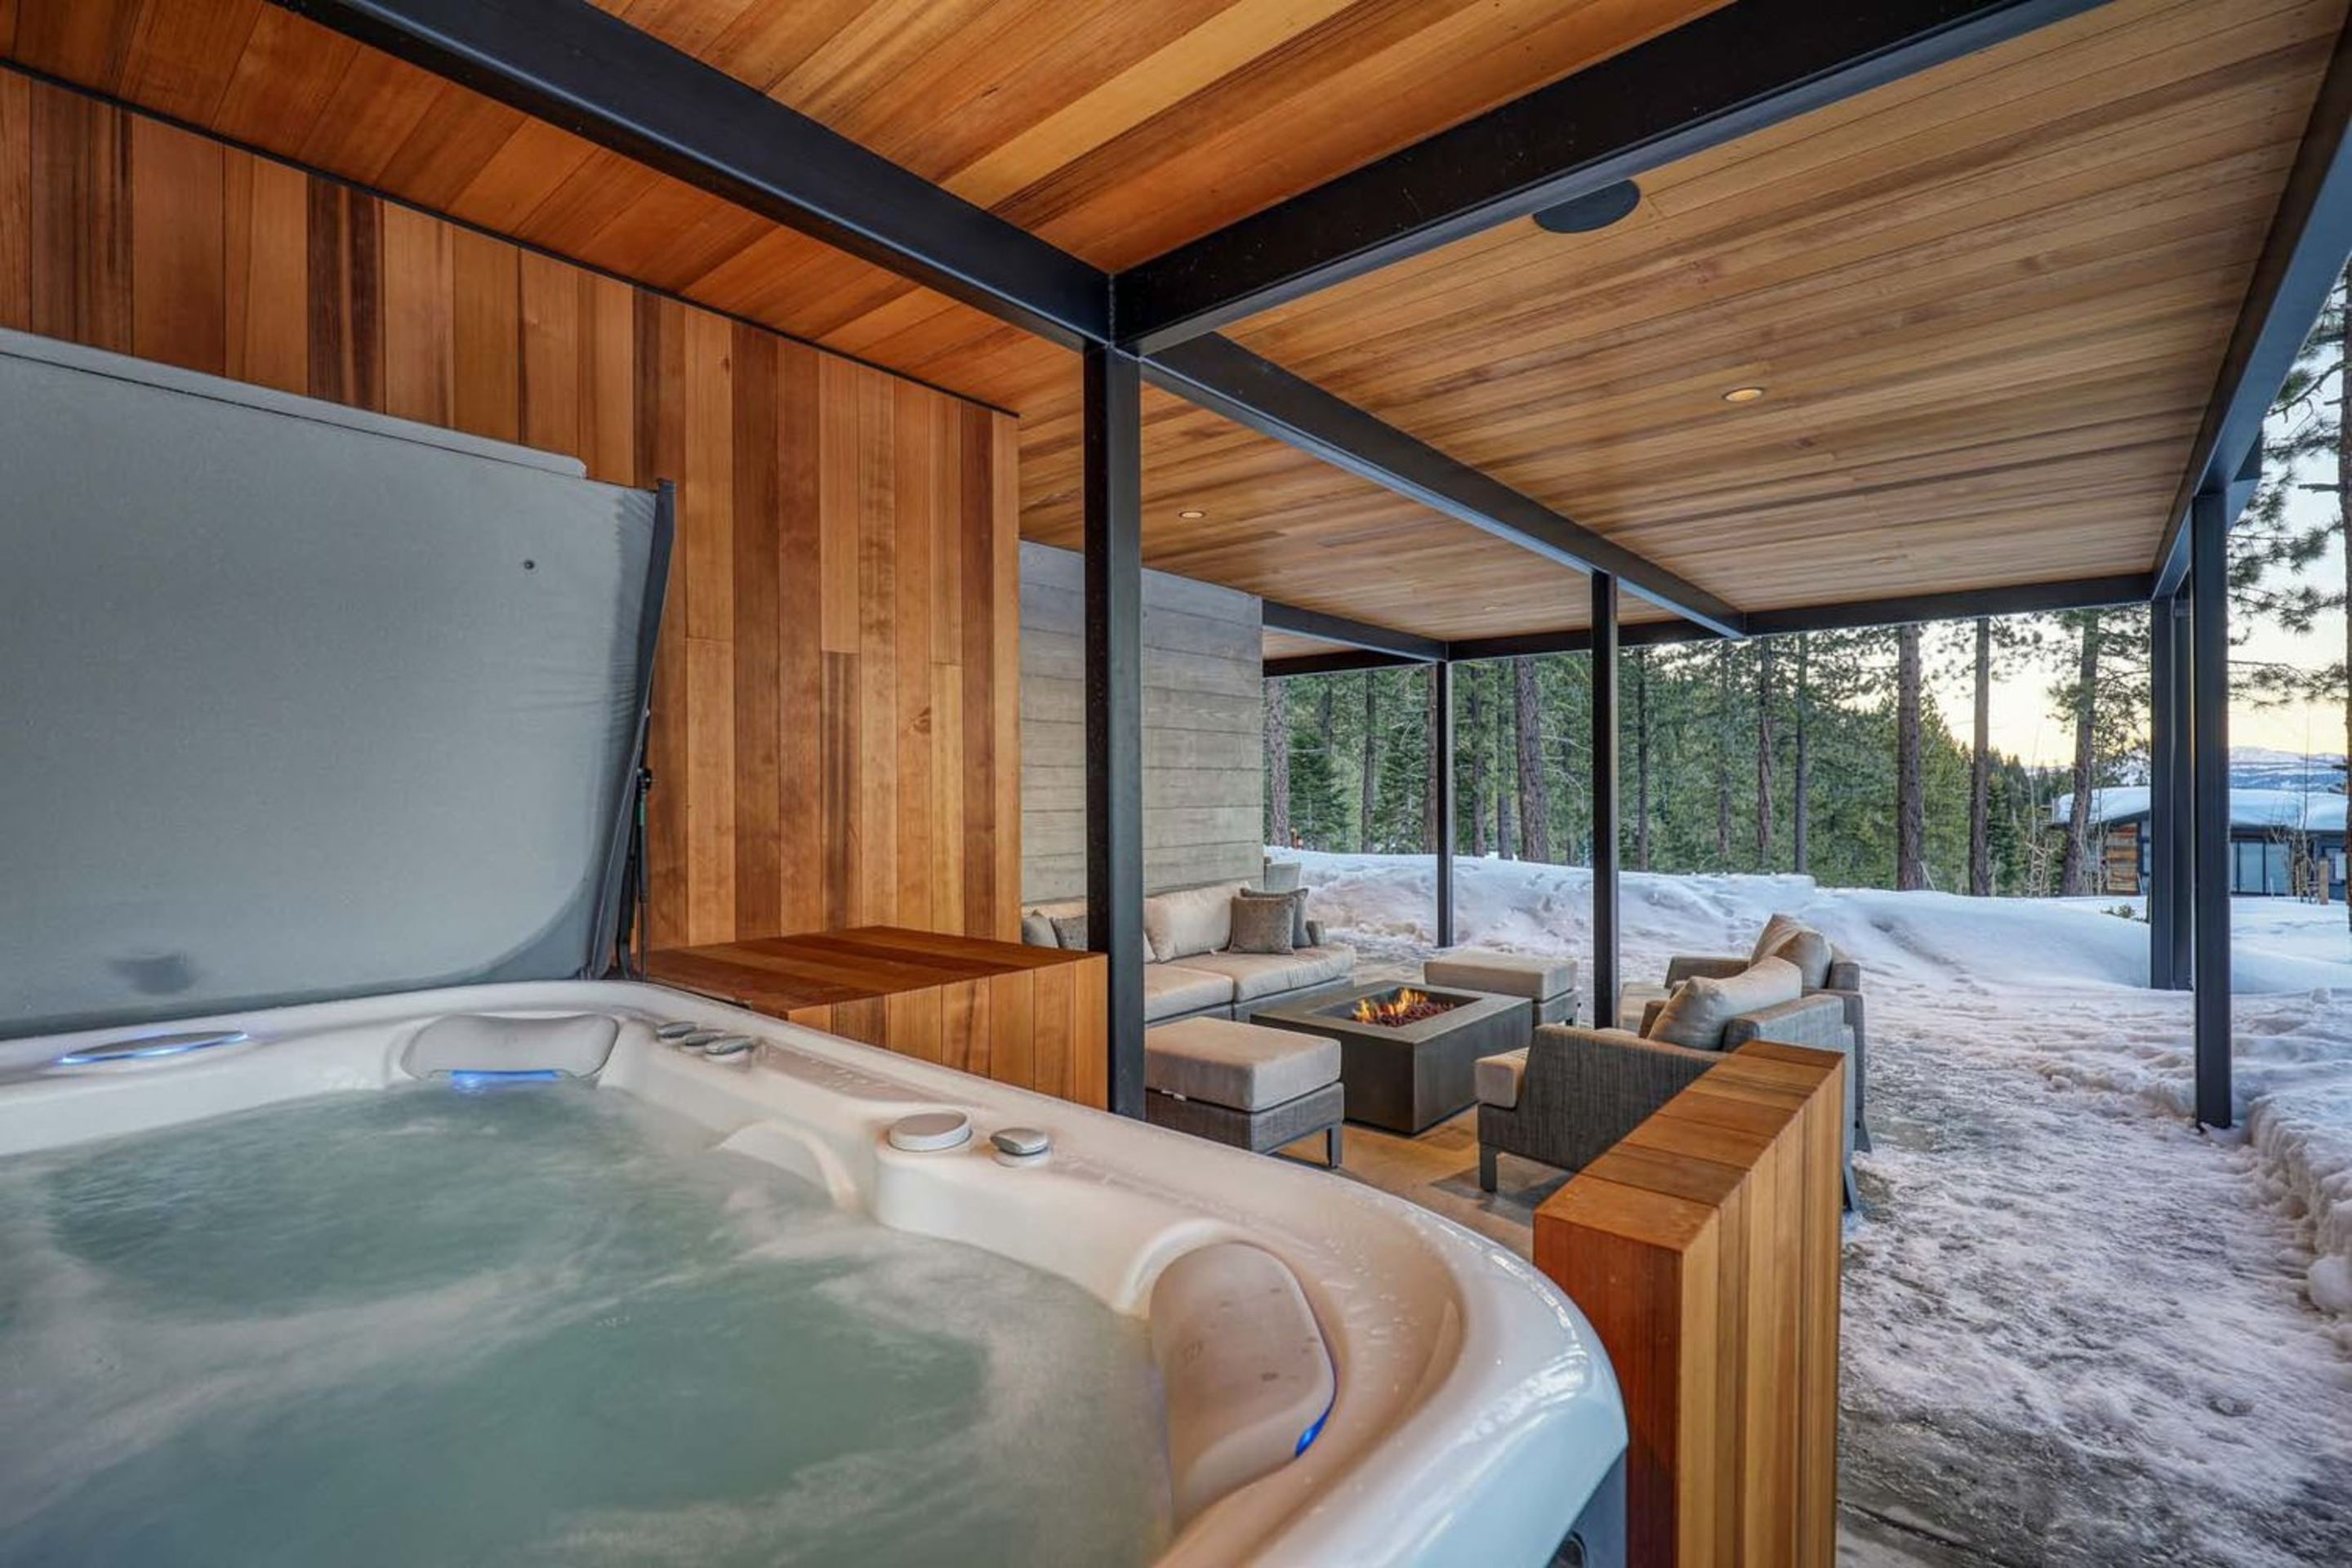
Brand: HotSpring
How to Change the Temperature:
On the home screen press the temperature. Adjust to the desired temperature.
How to Turn On/Off the Hot Tub Jets:
On the home screen, press the purple jet button on the bottom. Select what jets you would like to have on. You can also turn the white knobs on side of the hot tub to turn some jets up/down.
How to Turn On/Off Hot Tub Lights:
Press the light button on the bottom right of the home screen. Select preferred color.
Sonos
How to Connect to Sonos:
Detailed instructions can be found here.
How to Reset Sonos:
Unplug the power cord. Press and hold the Join button ( or ) while reconnecting the power cord. If your product doesn’t have a Join button, you can instead press and hold the Play / Pause or Mute button while reconnecting power.
Continue holding the button until the light flashes orange and white. The light will flash green when the process is complete and the product is ready to be set up.
How to Re-Add Sonos:
Open the Sonos app on your iOS or Android device. From the Settings tab, tap System > Add Product. Follow the on-screen prompts to add your product to your system.
Hair Dryer
Brand: Dyson
Click here to access owner's manual.
Bathroom Fan
How to Use:
To start the bathroom fan, press the mode button for the desired amount of time you wish to have the fan on. (ex. You desire to have the fan on for 40 minutes, you would press the mode button twice consecutively. Ones if you desire 20 minutes. Three times if you desire 60.)
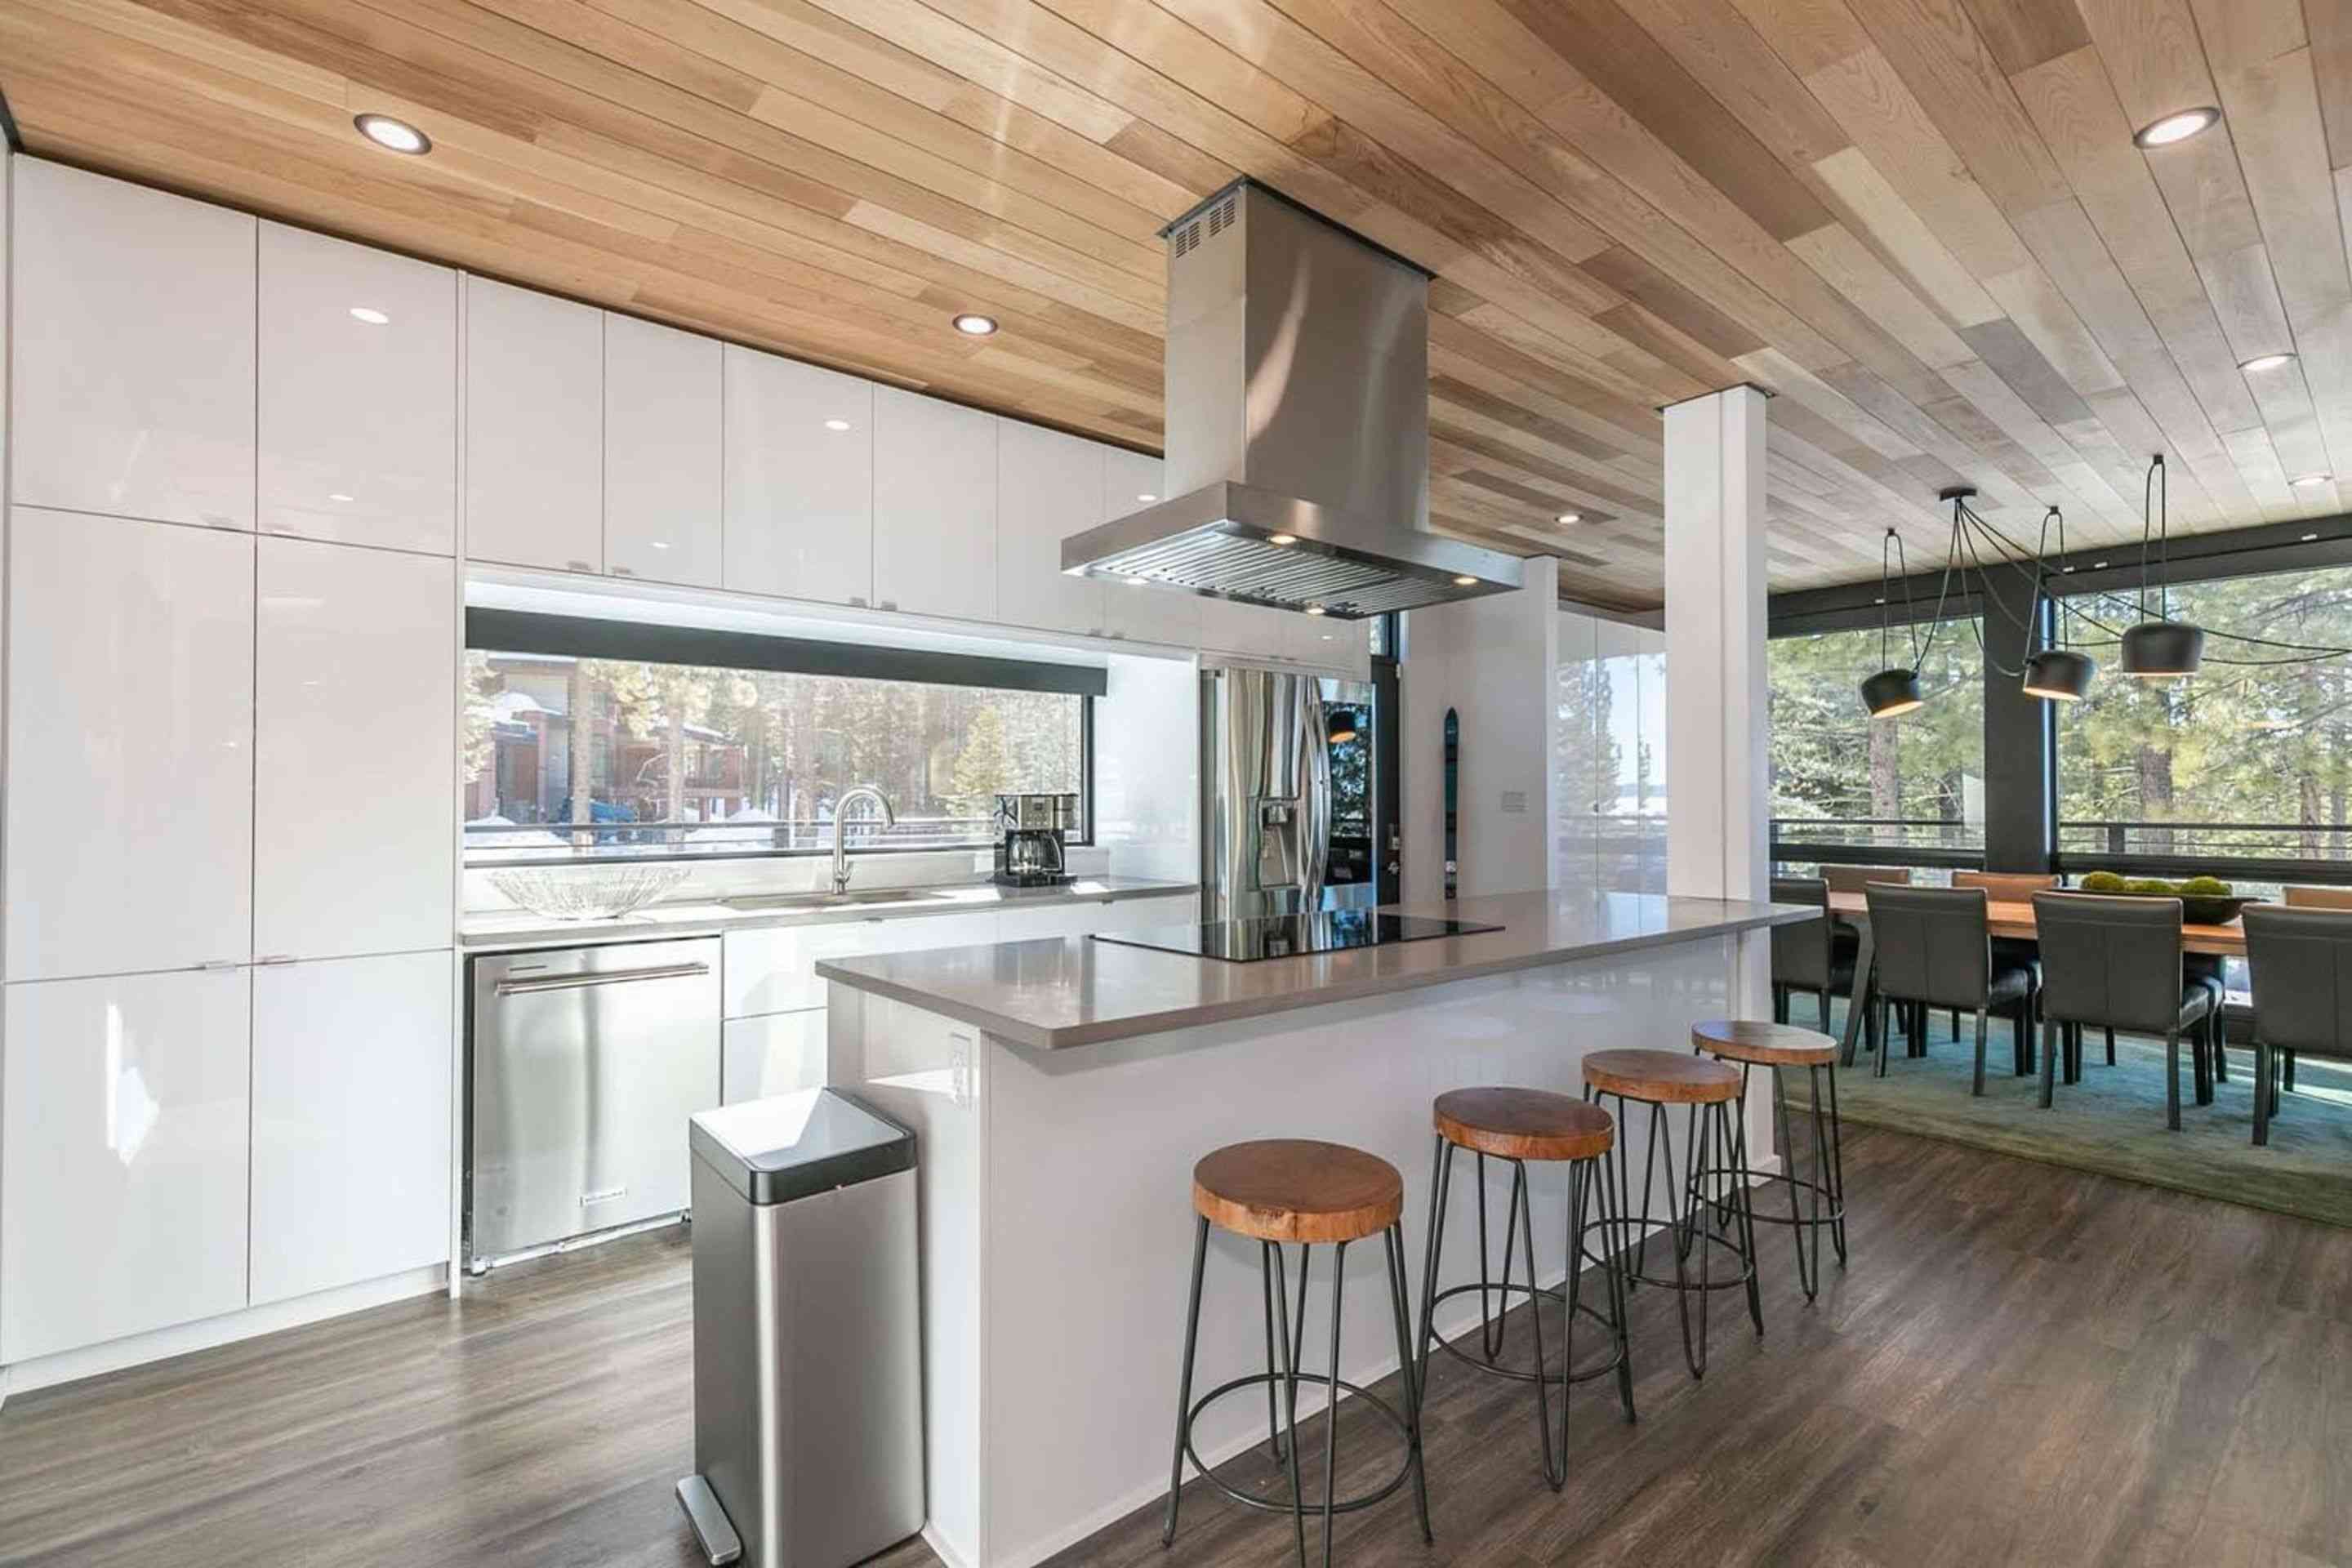
Refrigerator
Brand: LG
Click here to access the Owner's Manual.
Stove Top and Oven
Brand: LG
Click here to access the Owner's Manual.
How to Use the Stovetop:
Press the power on/off button. Select the section you would like to heat. Then select a number 1-9 to select the temperature for that section. Once cooking is done, press the power on/off button to turn off the stovetop.
How to Use the Oven:
Select the cooking mode. Input the cooking temp and time. Press start
Dishwasher
Brand: Kitchenaid
Click here to access the Owner's Manual.
How to Use the Dishwasher:
Open the door and load with dishes. Select the cycle you prefer and another option. Press start
Toaster Oven
Brand: Calaphon
How to Use the Toaster Oven:
Turn the function dial to the desired type of heating. Adjust temperature or cook time using the second-bottom dial. Press the start button. Press the cancel/off button to stop the cooking process.
Blender
Electric Kettle
Brand: Ninja
How to Use the Kettle:
Open the top by pressing the open button.
Fill with the desired amount of water and close the top.
Place the kettle on the dock and select the boil button then press start.
Coffee Maker
Brand: Nespresso
Click here to access the Owner's Manual.
How to Use Nespresso Machine:
Make sure water is filled in the left compartment.
Unlock the top of the machine by sliding the top chrome piece to the unlock position.
Place Nespresso capsule into position with the round side facing down and foil part facing up.
Close chrome part onto capsule and slide back into the locked position.
Press the coffee cup button on top of the machine to dispense coffee.
You can also check out our Nespresso Machine Guide for Wander Homes.
Thermostat
Brand: Ecobee
Click here to access the Owner's Manual.
How to Change Temperature:
You can use the Wander app or Smartthings to change the desired temperature for the room.
To do it manually, you'll find that on the right side of the screen is a scroll wheel with temperatures displayed. Move the scroll wheel to the desired temperature.
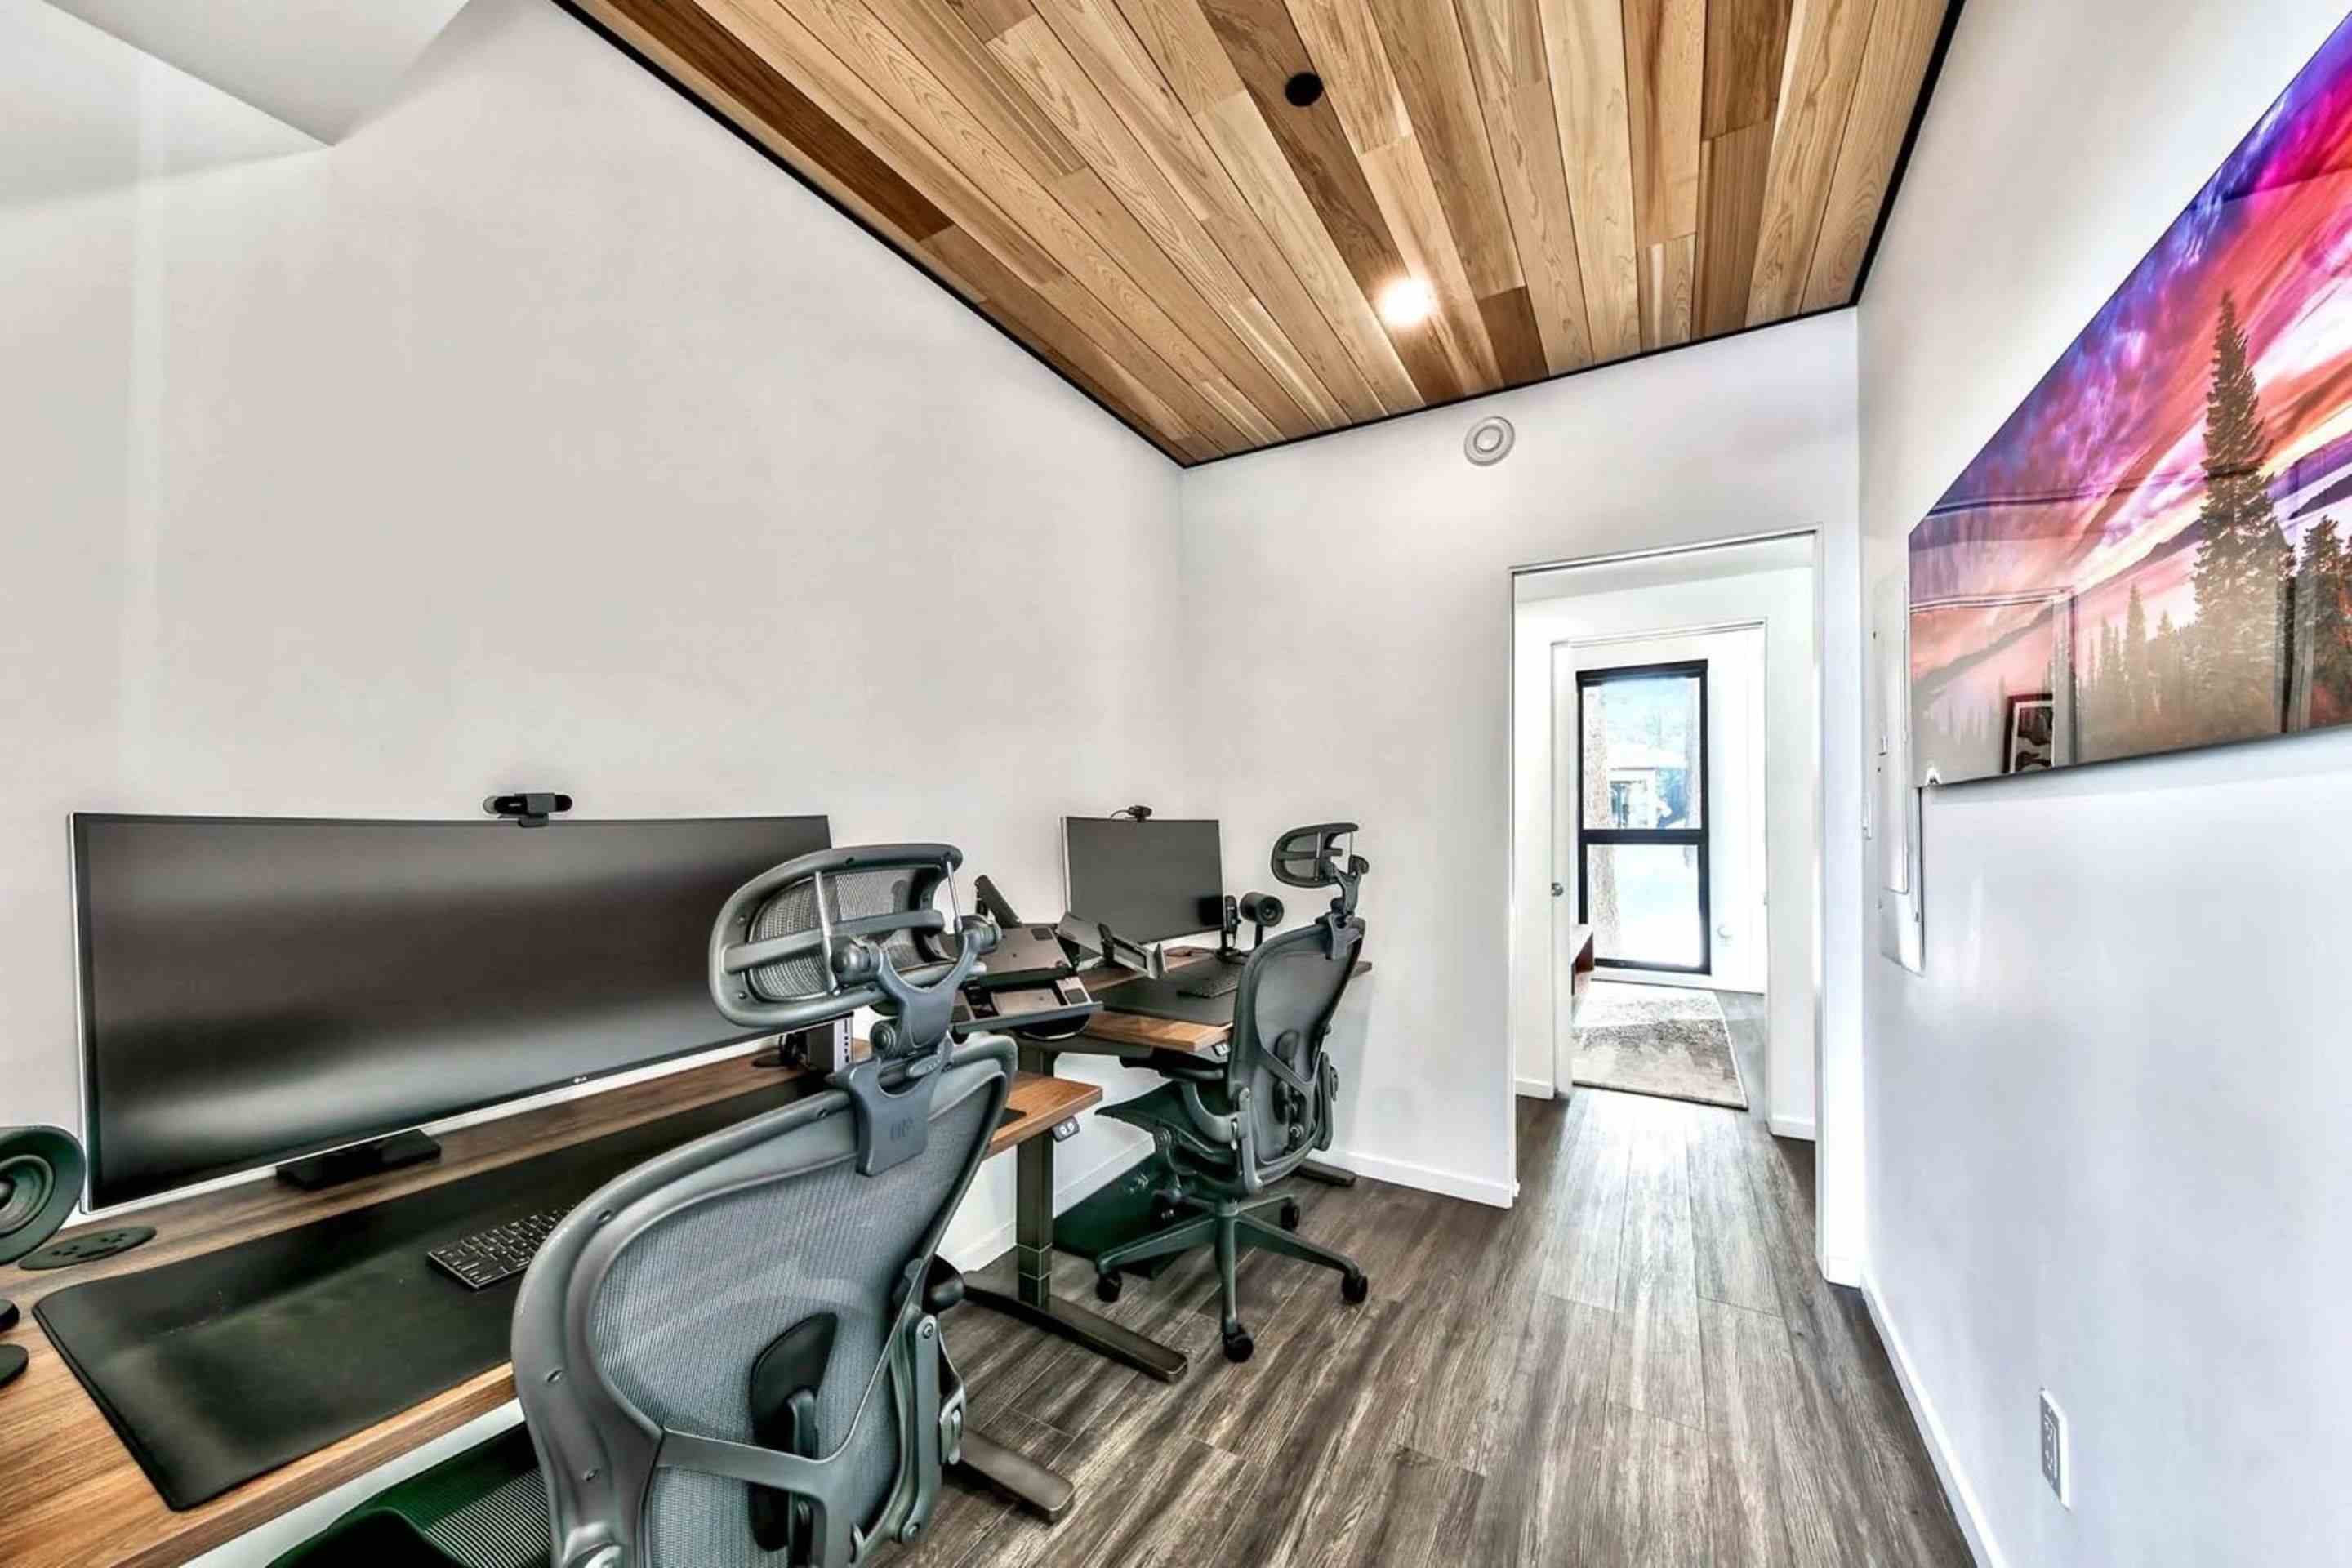
Webcam
Brand: Logitech Brio
How to Use:
Webcam should automatically connect to your device via the thunderbolt cable. You may need to select the Logitech Brio Web Camera in the setting of the application you want to use, usually devices will default to the computers web cam
Potential Issues:
If the camera does not have a picture, the camera cover may still be on. Simply flip up the piece covering the camera.
Caldigit
Brand: Caldigit TS3 Plus
The caldigit will be located under the desk in the metal box.
How to Use:
The caldigit will have a singular lighting usb cable coming up to the top of the desk. This will be the only cable you will need to utilize all of the desk equipment.
Potential Issues:
Some computers may not be able to use the lighting usb due to basic computer differences but most will have an available port.
Some users will need to update usb drivers or their actual computer if issues persist. Some may not be able to see their display on the Wander monitor and may need an HDMI cable directly run from their computer to the monitor.
If some desk equipment is not working it may be as simple as a loose or unplugged wire from the Caldigit.
Monitor
Brand: LG 38WN75C-B
Click here to view owner's manual.
How to Connect the Monitor:
Your computer will connect the single thunderbolt cable coming from the caldigit.
Potential Issues:
If computer display is not showing, one solution may be that the wrong input may be selected, to change the input press the button on the bottom side of the monitor and a menu will appear. In that menu go to input and select the display port. This should bring you to the correct display.
Another issue may be that the display port cable has been unplugged through wear and tear. Check to make sure that the cable is correctly connected to the back of the monitor and also correctly connected to the Caldigit.
Microphone
Brand: Yeti Nano
How to Use:
Once Caldigit cable is plugged into the computer the microphone should be ready for use. To ensure you are using the yeti nano microphone, open sound in your computer's settings, select input and select the yeti nano microphone
Potential Issues:
If the mic is not working, on the front of the mic will be a small circle either green or red. If it is green the mic should be live so people can hear you, if it is red it means it is muted. If the microphone is not showing any color on that ring it means it has no power and may have been unplugged from the caldigit.
If microphone is not working you will have to go to into your computer's settings, sounds, then change the input from your laptops microphone to the Yeti Nano
Speakers
Brand: Razer Nommo
How to Use:
Once the Caldigit cable in plugged into the computer the Razer Nommo speakers should be ready for use.
Potential Issues:
If speakers do not automatically connect to your computer, go to your settings on your computer, open sounds and change the output from your laptops speakers to the usb audio 2.0
If speakers are still not working make sure that the volume dial on the speakers are turned up.
Desk
Brand: Uplift
How to Use:
Use the arrow keys on the controller that is mounted to the underside of the desk.
How to Reset:
Hold the DOWN button until the desk reaches its lowest height and then release the button (for the Advanced Paddle Keypad, hold the paddle down).
Pro tip: If your desk doesn't start to move after pressing the DOWN button, release the DOWN button and try again.
Hold the DOWN button again for 30 seconds and then release (Note: if you have an Advanced Keypad it will display "ASR"; the Basic 2-Button Keypad does not have a display; the Advanced Paddle Keypad will display "RESET").
Hold the DOWN button again until the desk lowers slightly, then rises slightly, then release the button. If the desk didn't move, try this step again. The movement means the desk reset was successful. If it didn't move, try the quick reset again
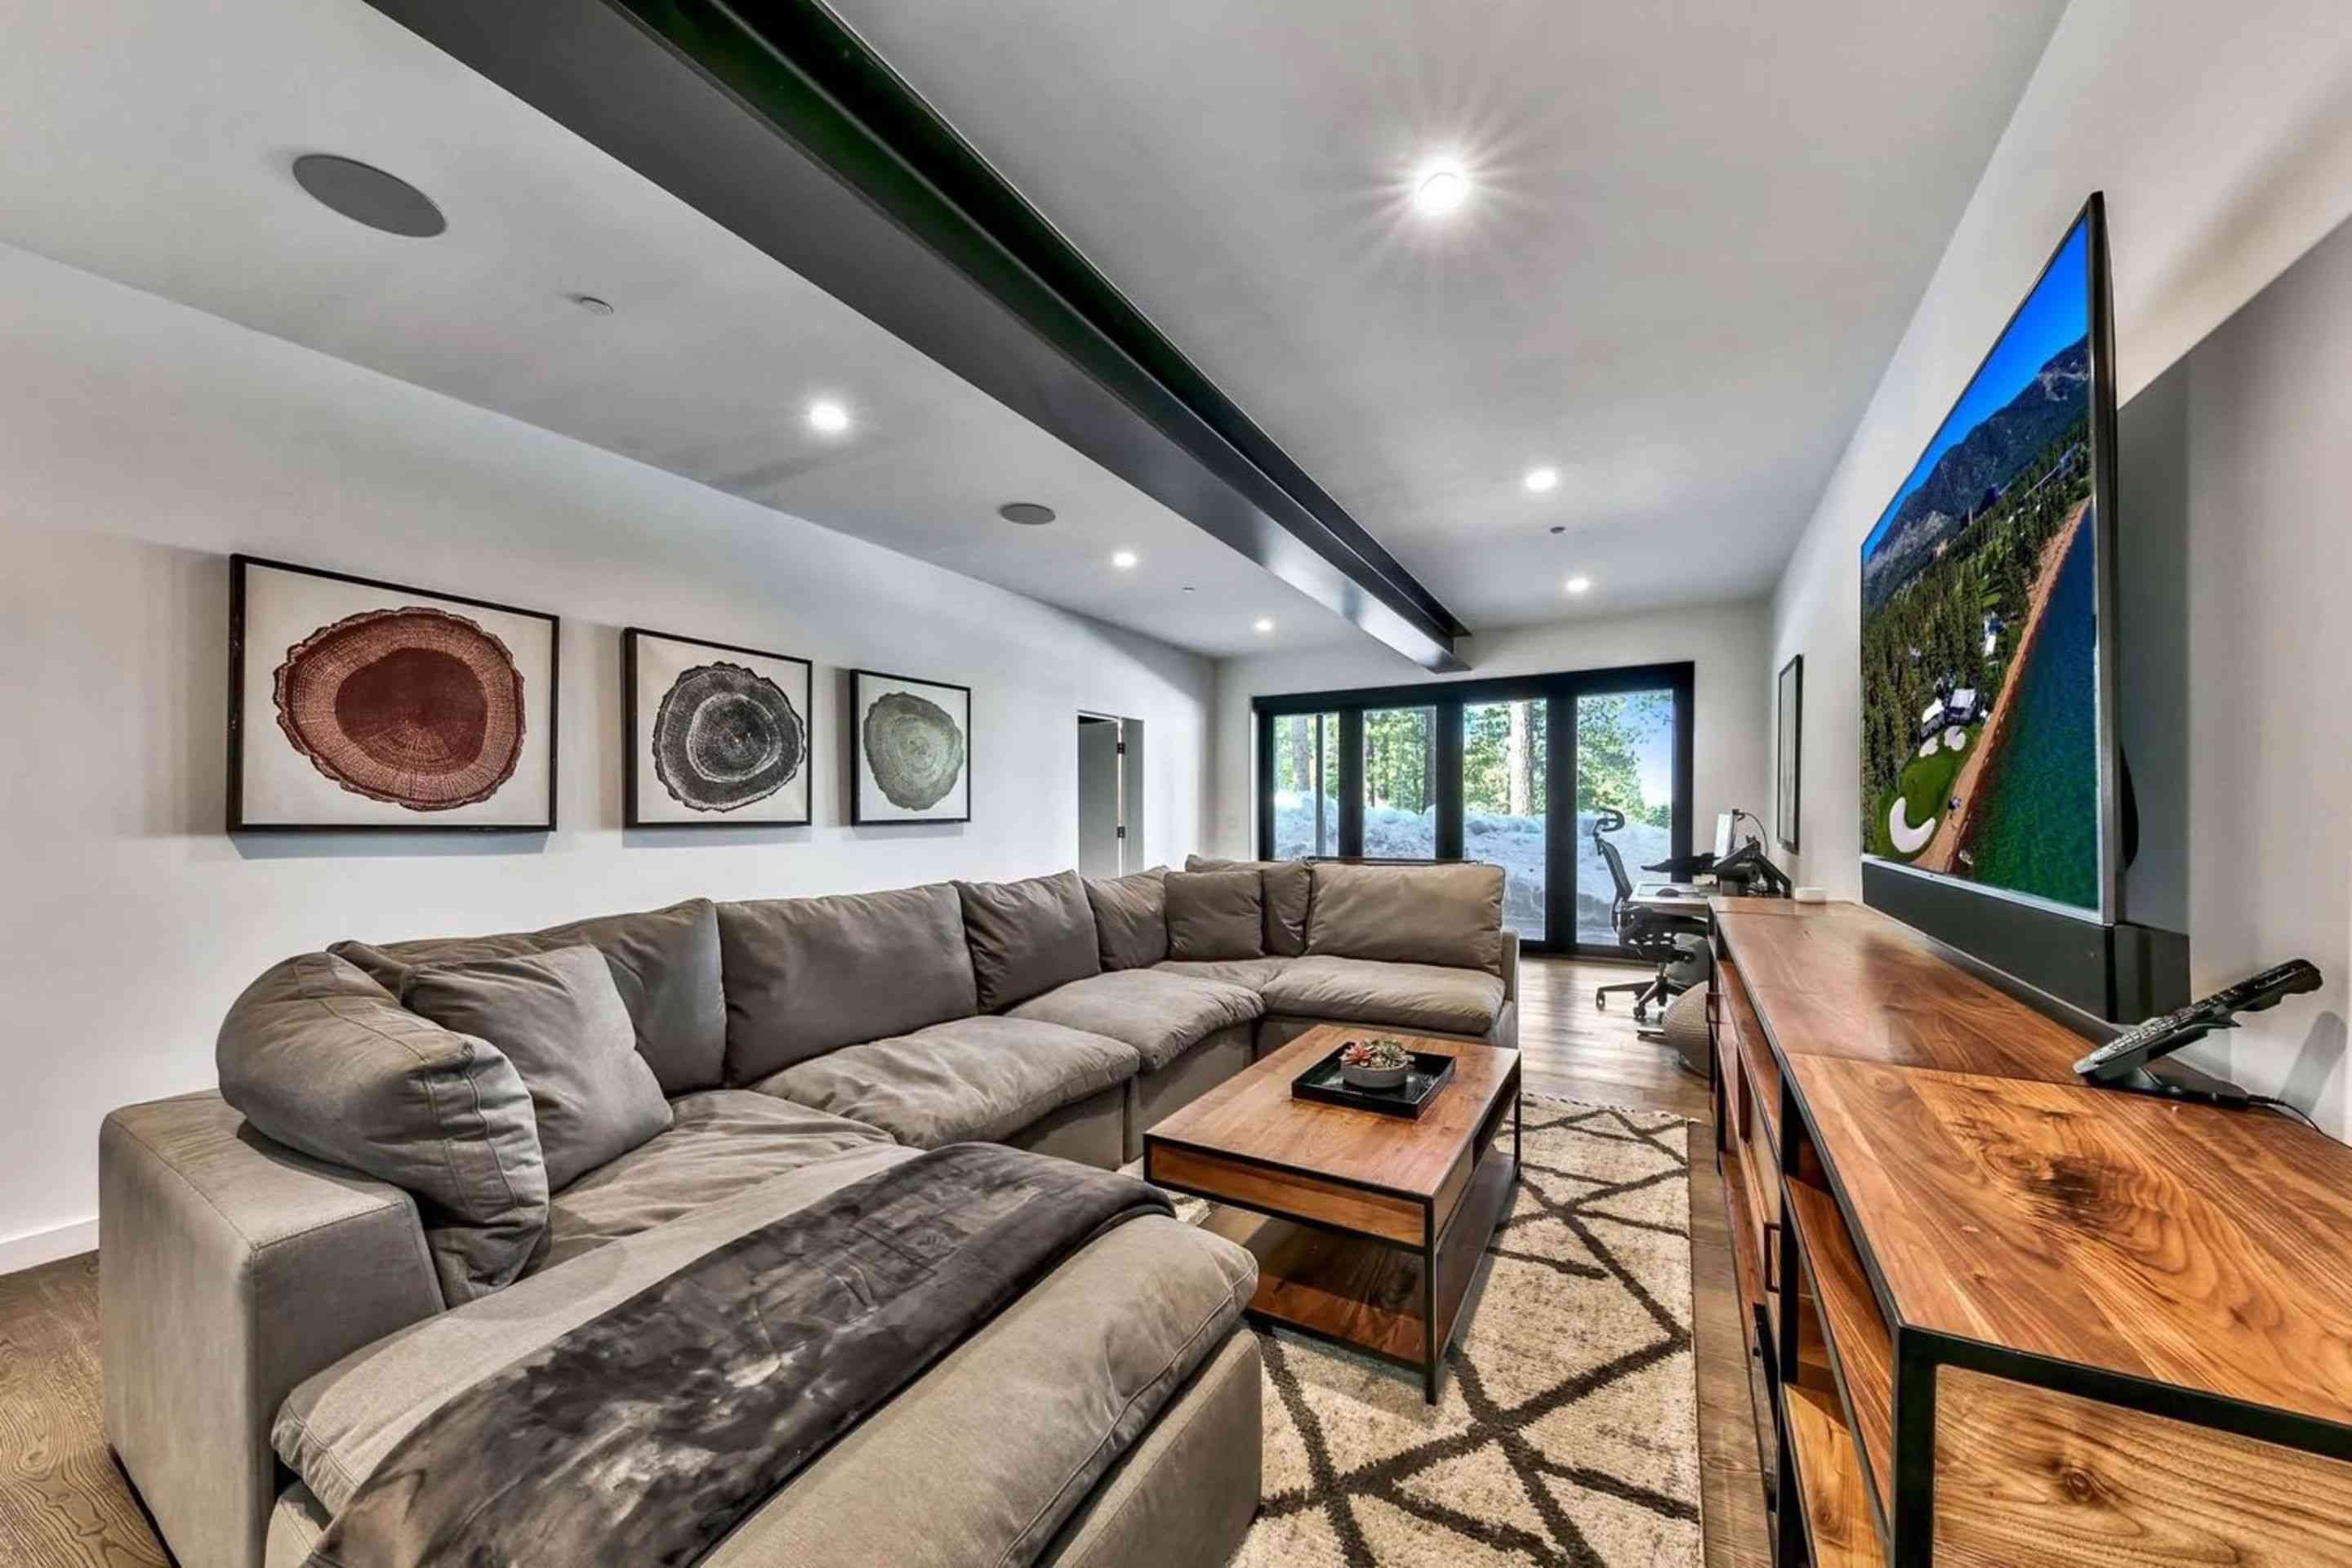
Sonos
Brand: Sonos
How to Connect to Sonos:
Detailed instructions can be found here.
Potential Issues:
If the Sonos downstairs is not working find the multi-media controller with the small screen on the top, in the menu there will be a button to select the Sonos speakers.
How to Reset Sonos:
Unplug the power cord. Press and hold the Join button ( or ) while reconnecting the power cord. If your product doesn’t have a Join button, you can instead press and hold the Play / Pause or Mute button while reconnecting power.
Continue holding the button until the light flashes orange and white. The light will flash green when the process is complete and the product is ready to be set up.
How to Re-Add Sonos:
Open the Sonos app on your iOS or Android device. From the Settings tab, tap System > Add Product. Follow the on-screen prompts to add your product to your system.
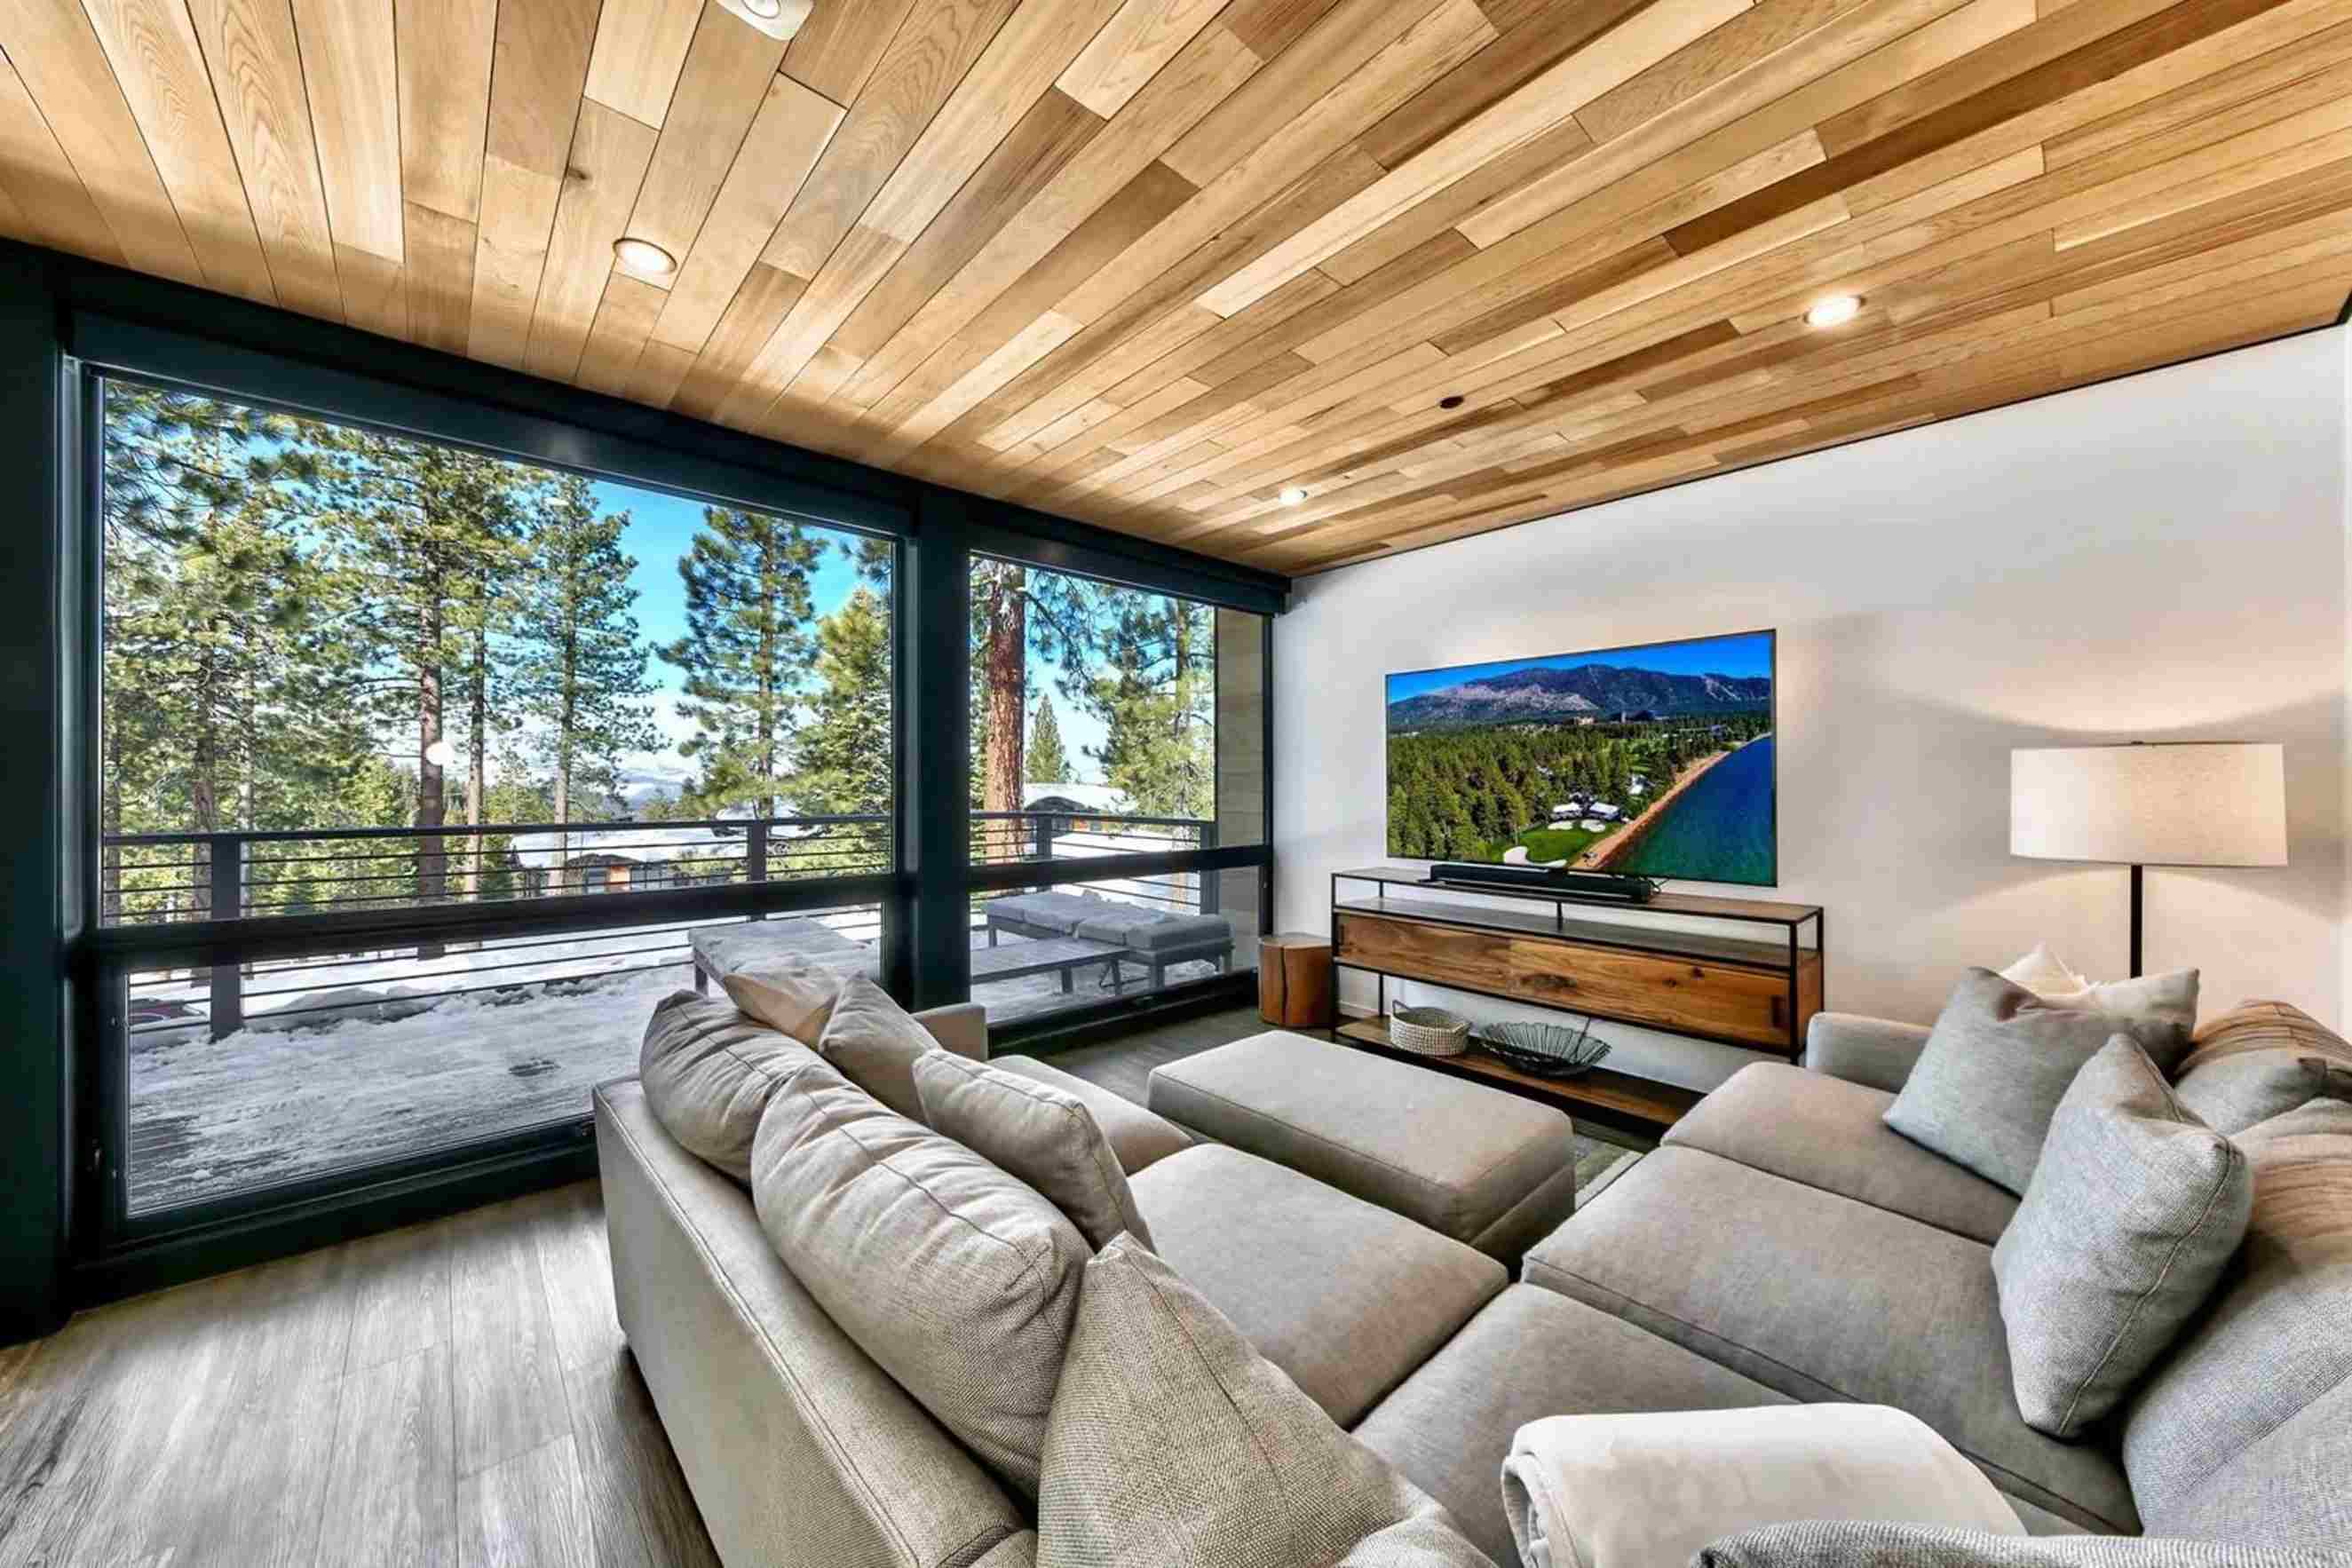
Television
Brand: Samsung Q80a
Click here to view owner's manual.
Sauna
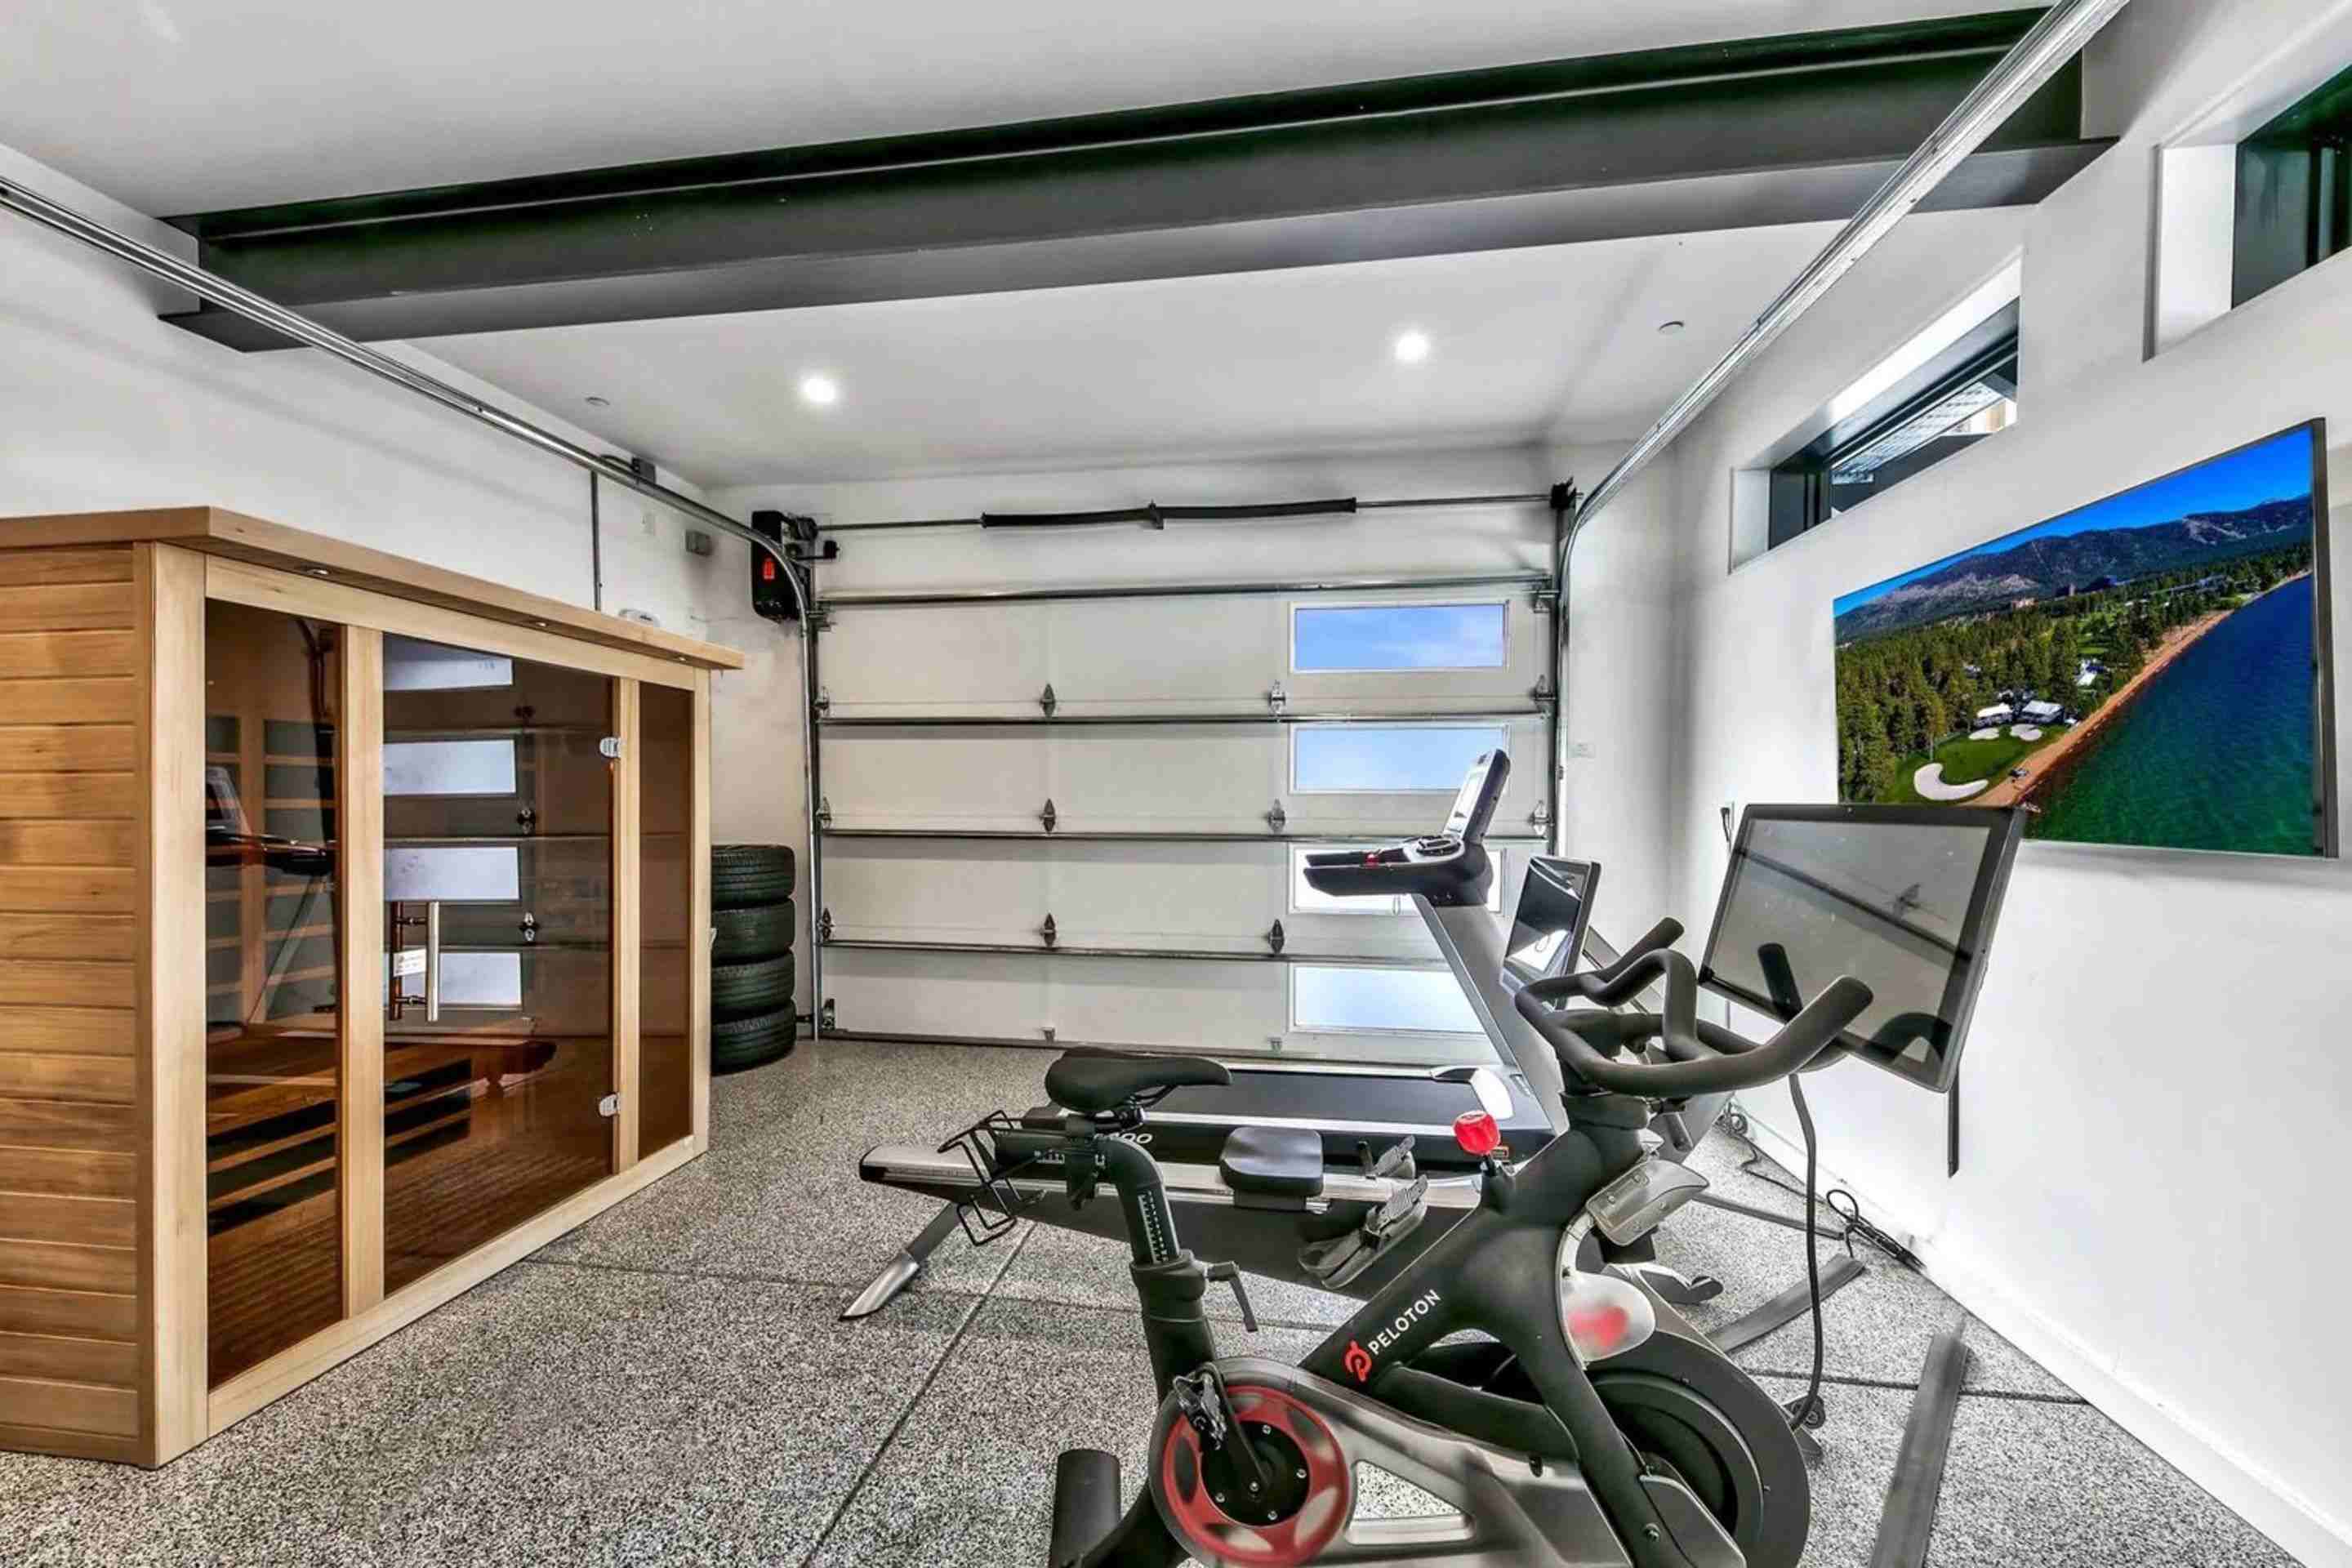
Brand: Golden Design TY-6310
Click here to view the owner's manual.
How to Use:
Press the power button located on bottom middle of the controller within the sauna. Set the temperature using the arrow keys at top of controller labeled temperature. Set the time desired in the sauna using the arrow keys located where it says time. Press start.
Potential Issues:
If sauna is not powering, located to the right of the sauna there is a GFCI plug, press the reset button on that plug.
Peloton
Brand: Peleton
Click here to view the owner's manual.
Hydrow
Brand: Hydrow
Click here to view the owner's manual.
How to Reset Hydrow:
Before you begin, make sure you know your WiFi password, profile username, and profile password. You will need to reconnect to WiFi and log in after this process.
Tap the the Settings ⚙ icon on Hydrow's screen. If you cannot access Hydrow's screen, please proceed to the Reset Hydrow (Manual) steps below. In the System section, tap Factory Reset. Read the on-screen prompts carefully and tap Continue if you want to continue with the factory reset.
Hydrow will restart, which can take 2-5 minutes. If you don't see the WiFi screen after 5 minutes, reboot your Hydrow. Follow the on-screen prompts to connect to WiFi and log in with your username and password. Other household members will have to log in with their profile information, too. Reconnect any Bluetooth or ANT+ devices.
Treadmill
Brand: Body Craft T400
Click here to view owner's manual.
Boot Dryer
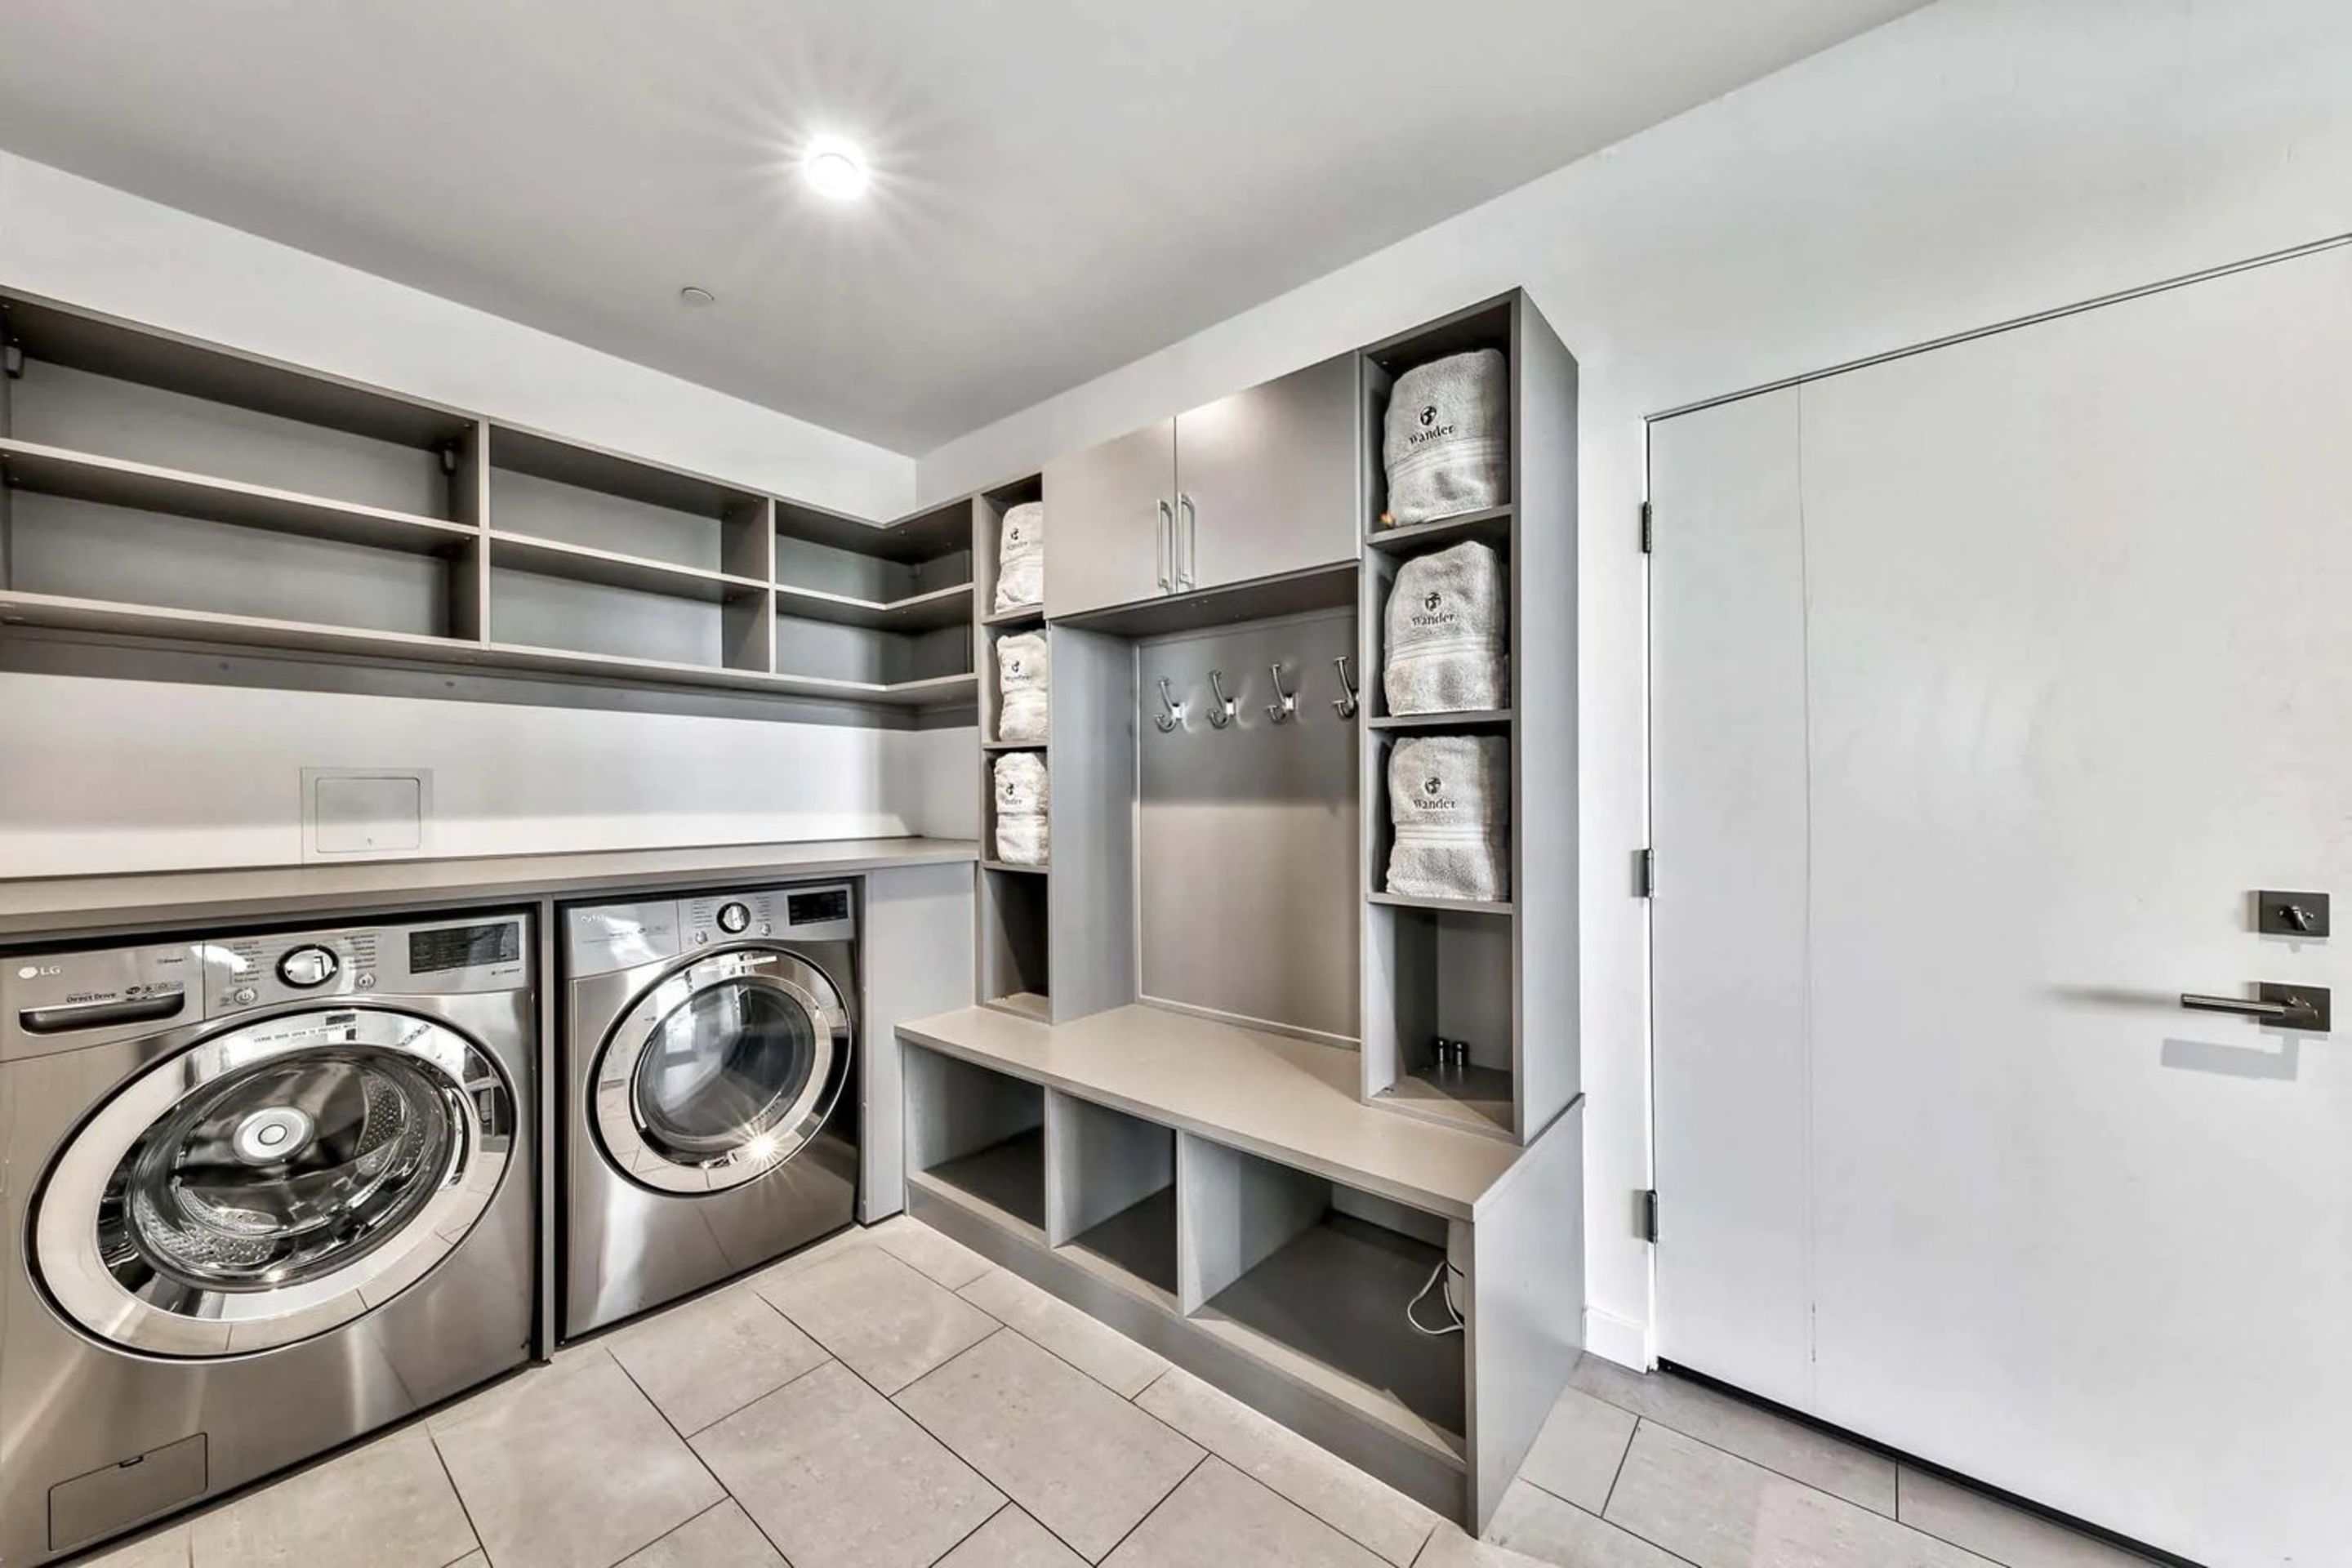
Brand: Gear Dryer
How to Use:
Place boots on an individual pipe. Select the amount of time you would like for the heater to run using the white switch under the word "Power." If you would like to have the heater on press the "Heat" switch into the on position.
Dryer
Brand: LG DLEX4200B
Click here to view owner's manual.
Washer
Brand: LG MWM4200HBA
Click here to view owner's manual.
Smoke Alarm
Brand: Google Nest Protect
How to Silence Smoke Alarm:
Press the center button. During an alarm, press the large button on the front of the Nest Protect that sensed the smoke or CO. You won’t be able to silence Nest Protect if smoke is above levels specified by law. This is an industry rule that all alarms follow.
Note: If your Nest Protect is chirping, it means something needs your attention. It won’t stop until you resolve the issue. To know why it’s chirping, check the Nest app or press the button. You may need to replace the batteries or replace your Protect.
Where do I put the trash?
The trash bin is located underneath the stairs on the outside. It has a bear lock on it so twist the big handle to unlock it. Below the outdoor stairs, there is a black metal door. Rotate the handle on the door to unlock the door. Inside there is one trash can and a brown metal box.
Where is the ski lift?
Northstar Resort has all of the lifts - Timberline is the closest one and the ski trail runs right in the backyard - a true ski-in ski-out property.
Are snowshoes provided at the property?
No, there are no snowshoes at our Tahoe Slopes property. You can get them for sale and rental at Northstar Ski Resort which is 4 miles from Wander Tahoe Slopes.
How do I turn on the music?
The music can be accessed through Sonos. Detailed instructions can be found here.
Can the bunk beds be pulled apart?
No, the bunk beds can’t be pulled apart.
Where can I find extra toilet paper?
There should be some in the drawers of each of the bathrooms. There are some in the guest bathroom upstairs as well as downstairs.
Is there a first aid kit?
There is a first aid kit under the kitchen sink.
There are so many adventures waiting for you at Lake Tahoe, such as an e-bike tour around the city or a 2-hour cruise with friends! Don't forget that your Wander Concierge is available to chat 24/7 to help you during your vacation of a lifetime!

By signing up, you agree to our Privacy Policy and Terms of Service.